The brake warning light turning on is your car’s way of saying “It’s time to look at the brakes!” But how urgently should you react? This guide examines what that dash light means, how long you can safely drive with it on, and the repairs needed to get back to worry-free braking.
Causes of the Brake Warning Light & How Long Do I Have?
The brake warning light has a few possible underlying causes:
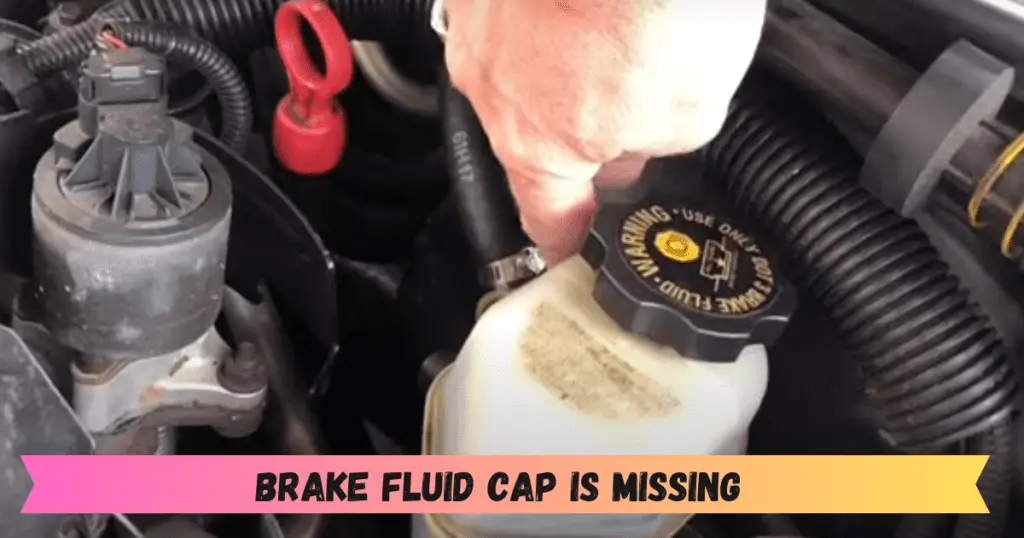
Low Brake Fluid
Brake fluid drops to a low level for a few reasons:
- Leak in the brake hydraulic system
- Worn brake pads allowing caliper pistons to extend further
- Brake fluid absorption over time through rubber hoses
Signs it’s a low fluid issue:
- Brake pedal sinks lower to the floor
- Warning light comes on infrequently or only with braking
- No other brake-related symptoms present
Incase you own a diesel car you should know how to make the dispose of adblue liquid environment friendly
Worn Brake Pads
The pad friction material has worn down close to the backing plate leading to brake pad warning light How Long Do I have.
Signs it’s worn brake pads:
- Warning light remains on constantly
- High-pitched squealing or grinding noises
- Vibrations through the brake pedal
- Reduced braking ability
Here’s a comparison of symptoms:
| Low Brake Fluid | Worn Brake Pads |
|---|---|
| Spongy pedal feel | High-pitched brake squeal |
| Light comes on intermittently | Light stays on continuously |
| No noise or vibration | Grinding, vibration in pedal |
| Normal braking ability | Reduced braking power |
So check for other corroborating symptoms when the light first comes on. This can indicate if it’s a pad or fluid issue. Schedule service promptly either way to avoid safety risks.
Driving With the Brake Warning Light On
You don’t want to ignore that yellow brake light for long. Here’s what happens the longer you wait for repairs:
- Longer stopping distances
- Degraded brake performance
- Intermittent brake squeal and vibration
- Vibrating or pulsating brake pedal
- Metal-on-metal noise from pad backing plate contacting rotor
- Grooves or pitting damage in brake rotors
- Potential complete brake failure and unsafe vehicle
While you may get some extra mileage at first, braking capacity diminishes quickly. Get your brakes checked immediately to maximize safety.
“Band-Aid” Fixes to Avoid
With brake problems, DIY tips and tricks won’t get to the root cause. Steer clear of these temporary band-aids:
- Topping off brake fluid. This may turn the light off briefly if it’s a fluid issue. But if the pads are worn, low fluid didn’t cause the light so more won’t fix it.
- Brake pad shims. These small metal shims glue on worn pads to reduce squeaking. They don’t address the lack of friction material and imminent safety risk.
- Ignoring the light. Many assume the light just indicates an upcoming service interval. But illuminating the warning light means your brake pads need addressing very soon.
The only proper fix involves replacing worn pads or addressing low fluid levels through a full brake inspection.
Checking Brake Pad Wear Yourself
Want to take a look at your brake pads before going to the shop? Lets check it:
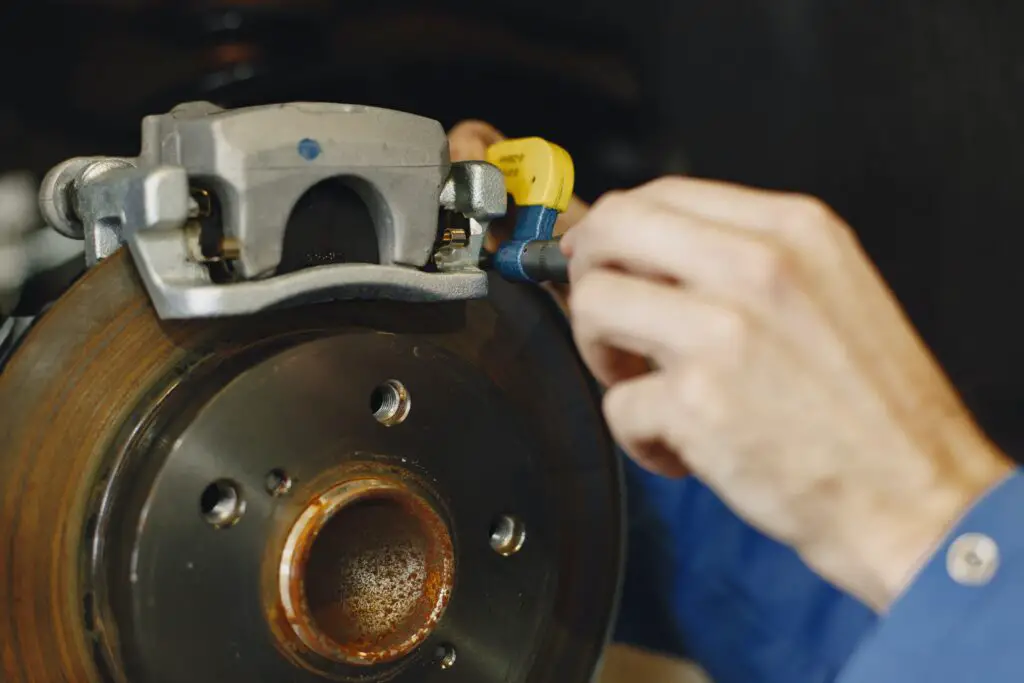
- Jack up the front of the vehicle and support it securely on jack stands.
- Remove the front wheels.
- Locate the brake caliper and inspect the thin spaces between the caliper bracket where the brake pads reside.
- Check that the pad friction material appears thick and has faint wear grooves left. Significant thinning near the backing plate indicates replacement time.
- Also look for rusting or other damage.
- Repeat steps for rear brakes if light was on for all wheels.
While not a foolproof test, this lets you spot significantly worn pads. Rear brakes are trickier to inspect in some vehicles. If concerned, have a pro assess them during service and then you should be able to consider brake pad warning light how long do I have to go.
Brake Pad Materials Compared
When selecting new brake pads, you’ll choose between various friction materials. Here are the key differences:
| Material | Pros | Cons |
|---|---|---|
| Semi-metallic | Durable, high temps | More dust, more noise |
| Ceramic | Quiet, low dust | Less thermal capacity |
| Organic | Quiet, minimal dust | Wear out faster |
| Metallic | Great stopping power | Noise, rotor wear |
Consider how you drive when picking pad compounds. More stop-and-go city driving does better with low dust options like ceramic or organic. Performance driving is better suited to semi-metallic pads.
DIY Brake Pad Replacement Tips
Ambitious do-it-yourselfers can replace pads with caution:
- Follow a brake pad replacement tutorial closely for your vehicle. Steps vary between makes and models.
- Check for guide pins, slides, and hardware that also need replacement. Budget for some new parts.
- Don’t force anything during disassembly. Rusted or stuck components may need a breaker bar or penetrating oil.
- Use jack stands for safety and wheel chocks to prevent rolling.
- Check that new pads move freely in the caliper bracket before reinstalling the caliper.
- Pump the brakes carefully to reset the calipers before road testing. Check for any loss of pressure or increased pedal travel.
Go slow and double check everything if tackling it yourself. Proper tools and knowledge are a must.
Signs You Should Stop Driving Immediately
Notice any of these severe symptoms? Halt driving and call for a tow if
- Brake pedal falls to the floor with no resistance.
- Grinding or scraping noises come from the wheels during all braking.
- Vehicle pulls sharply to one side when braking.
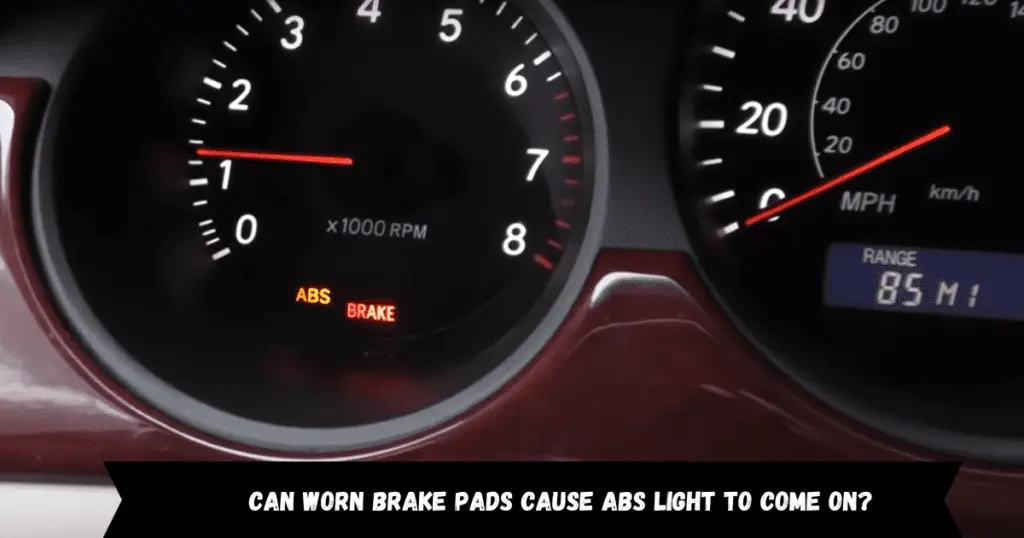
- Brake warning light stays on along with the ABS or traction control lights.
- Burning smell from the wheels when braking.
Don’t gamble with critically worn pads or brake component failure. These require towing to prevent unsafe breakdowns or accidents. Do you feel any jerk while driving at constant speed check why?
Related Repairs to Consider
When replacing brake pads, look into these recommended additional repairs:
- Machining or replacing brake rotors if deeply grooved, uneven, or over the max thickness variation limit
- Replacing worn brake hardware like slide pins, shims, and retaining clips
- Flushing old brake fluid and refilling with fresh fluid if discolored or over 2 years old
- Fixing any leaks found in hoses, calipers, master cylinder or ABS modulator
Addressing these complementary items ensures smoother, quieter, and safer braking all around and also prevent you to query about brake pad warning light how long do I have? 😁😉 . Why my car is making whirring noise after turn off?
Preventing Rapid Brake Wear
Adjusting a few driving habits helps brakes last longer between replacements:
- Gently brake over a longer distance rather than abrupt hard stops
- Eliminate excess vehicle weight and cargo when possible
- Have wheels aligned and balanced to reduce uneven tire wear
- Drive smoothly with minimal sudden acceleration and braking
Also, limiting exposure to wet conditions and salt/ice in winter helps rotors and brake components resist rust and deterioration.
With attentive driving and regular brake inspections, you can go many miles before that brake warning light returns. Master the basics of brake maintenance and get ahead of problems before they escalate. Knowledge and preventive care keep you, your passengers, and your budget happy.
Conclusion
Brake pad warning light How long do I have? The brake pads warning light indicates that your brake pads are due for replacement very soon. You can usually drive cautiously for a short period with the light on before repairs become urgent. But address the issue right away to maximize safety. With proactive inspection and replacement of worn pads, you can catch issues before your vehicle starts spelling it out for you with warning lights. For more Brake Pads Warning Light tips, check out this guide: How Long do Brake Pads Last After the Warning Light?
Frequently Asked Questions
How long can you drive with brake pad warning light?
Once the brake pad warning light comes on, you typically have anywhere from 50 to 500 additional miles before repairs become urgent. However, it’s best to schedule brake service right away rather than pushing it and continuing to drive with worn pads. The sooner you replace the pads, the safer your vehicle will be.
brake pad warning light how long do I have ?
Experts caution against driving more than about 500 miles with the brake warning light illuminated. As the pad material wears thin, braking performance gradually reduces. Continuing to drive on significantly worn pads that triggered the warning light risks brake failure and dangerously long stopping distances. Get your brake pads replaced soon after the light first appears.
How long does it take to check brake pads?
If you want to inspect brake pad wear yourself before taking your car into the shop, plan on about 10-15 minutes per wheel to completes the steps. You’ll need to jack up each corner of the car, remove the wheel, visually examine the brake pads in the caliper bracket, and reinstall the wheel. Take appropriate safety precautions during the process as well.
Can you drive without a brake sensor?.
It is not recommended to drive without functioning brake wear sensors and warning lights. These safety features alert you when pads are nearly worn out and in need of replacement to avoid braking issues. Driving with dysfunctional sensors or indicator lights means you lose this important early warning system. Have your brake wear sensors and warning lights repaired promptly if they are malfunctioning or damaged.

